
(About a 12-minute read)
I was on a 'links-adventure' (a.k.a., rabbit hole) and wound up at an activity from Mike Cardus (an Organizational Development consultant who focuses on a group "progress-focussed process" to help his clients find solutions to their most pressing challenges). Mike is an experiential educator and innovative creator. Over the years I've collected some of Mike's activities to meet the needs of my own groups. Mike - BIG Thank You! for what you do! (Check out Mike's Resources page.)
Bright - Blurry - Blind is what I call an 'Information Awareness' activity. It involves Image Cards, prompting questions, reflection and discovery.
QUICK NOTES:
Here is Mike's most recent approach:
Bright - Blurry - Blind is what I call an 'Information Awareness' activity. It involves Image Cards, prompting questions, reflection and discovery.
QUICK NOTES:
- Mike's description includes the example of facilitating within a corporate setting with specific 'departments' working through this process. After the description I include some commentary about using this one with other types of groups.
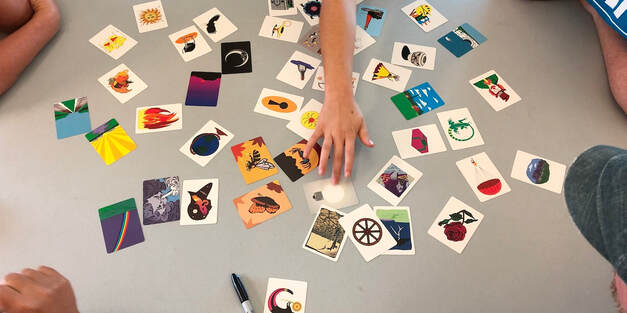
- Why use Image Cards? Why not just discuss, document and share what's Bright, Blurry and Blind? The brain fires up for some people when they see things. Visuals remind us. We also get to focus on the 'card' when bringing up a thought - "the card reminds me of..." is a reflection away from self which can be more comfortable for some. It's like asking, "Find a useful quote." without providing context versus "Find a useful quote about friendship." Visual images give us some context.
Here is Mike's most recent approach:
Bright - Blurry - Blind
An initiative that highlights the value of cooperation rather than competition.
Group Size:
5 - 500; participants are asked to work in their existing work teams, i.e., Accounting is together on one team, Human Resources is together on another team, Sales, and so on.
Time Required:
60-120 minutes, depending on group size and the momentum of the discussions.
Materials:
- Flip chart paper - at least two sheets per functional work group
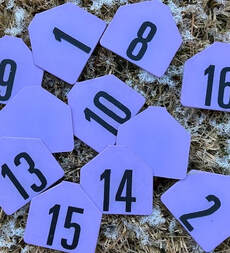
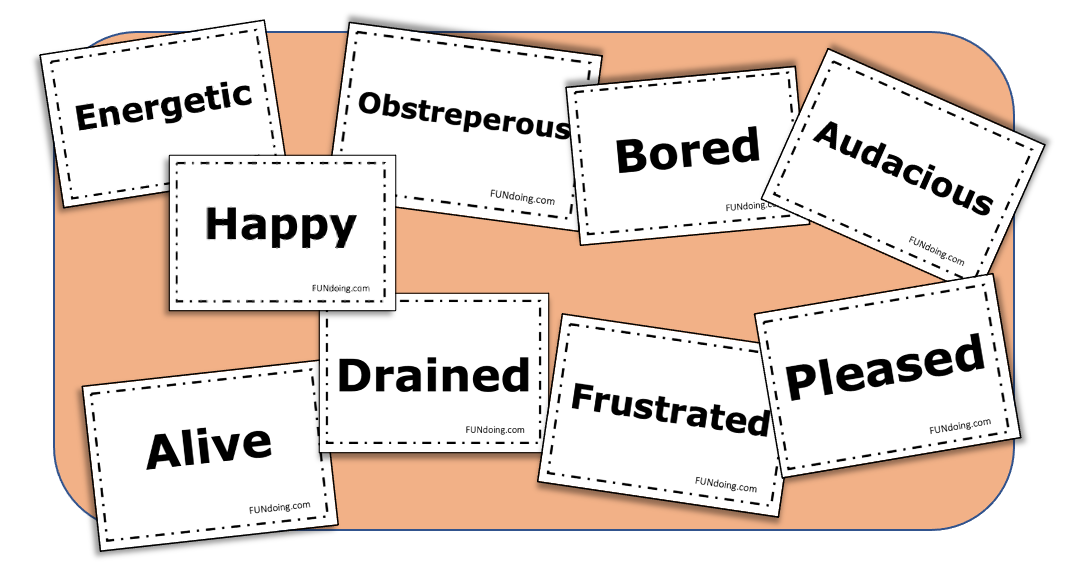
- A variety of magic markers
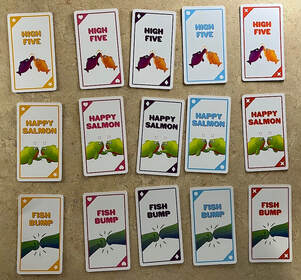
- Metaphor Cards; cards with images on them with no ultimate meaning. These cards allow participants to discuss and determine the team BRIGHT - BLURRY - BLIND areas.
Goals:
Briefing: (A sample script)
We all know a number of our work teams' and organization's ideas and issues seem obvious to us, not anyone else. Together, it is important to create a culture of transparent and open communication of needs and requirements for our teams and individuals to be their most effective. I ask that one representative from each team come and gather a small stack of metaphor cards, two pieces of flip chart paper, and some markers, then return to their team.
The metaphor cards are general images that will aid your team in clarifying the areas that will be discussed. Metaphor cards have no right or wrong, good or bad, positive or negative meaning. Their meaning will be what you and your team attach to them.
I will ask each work team to choose three metaphor cards with various meanings. Each team must agree on the three cards to use and what each card will symbolize for them. Here's what you'll be looking for in the cards:
- Providing an opportunity for the work teams and participants to think and speak about concerns and give accolades to each other creates a powerful learning environment.
- By illuminating topics within departments and the organization, work teams can brainstorm and strengthen their connection with each other.
- Facilitating an overall "one team" atmosphere and empowering the participants to share successful information and techniques that may have never been shared in an open forum.
Briefing: (A sample script)
We all know a number of our work teams' and organization's ideas and issues seem obvious to us, not anyone else. Together, it is important to create a culture of transparent and open communication of needs and requirements for our teams and individuals to be their most effective. I ask that one representative from each team come and gather a small stack of metaphor cards, two pieces of flip chart paper, and some markers, then return to their team.
The metaphor cards are general images that will aid your team in clarifying the areas that will be discussed. Metaphor cards have no right or wrong, good or bad, positive or negative meaning. Their meaning will be what you and your team attach to them.
I will ask each work team to choose three metaphor cards with various meanings. Each team must agree on the three cards to use and what each card will symbolize for them. Here's what you'll be looking for in the cards:
One Card will represent BRIGHT - Bright is an issue or topic out in the open, clearly evident to the team about the organization. Bright is common knowledge; everyone knows this is an area of concern for the work team and the organization.
The second card representing BLURRY - Blurry is known and not spoken about enough, a subject that should become Brighter. Blurry is the undercurrent water cooler talk, the area the work team feels insecure about, and its status within the organization. Blurry is a topic or issue; if made brighter, much of the "Gossip" would cease, and questions would be answered.
The third card represents what they feel is BLIND - Blind is not known, missing from the system, or that the work team feels kept from them. Blind issues or topics are ones that the team feels they are the only ones who struggle with, and no other work teams are aware of. When the Blind problems and questions became Brighter, the organization would become transparent and create a paradigm shift towards trust and excellence.
The work teams are then asked to go ahead and choose the three metaphor cards (one for BRIGHT, one for BLURRY, and one for BLIND), write these on flip chart paper and then present the BRIGHT - BLURRY - BLIND to the entire organization and work teams that are present for the activity. [Note from Chris: I'm thinking, I'll have each group stick their cards on the flip chart paper with (light-stick) painters tape and then write out (next to the card), what it represents. It adds a colorful visual to the presentation.]
Processing:
BRIGHT - BLURRY - BLIND is an initiative that can stir up powerful emotions and discussions. Use this process with a group that is willing to explore and grow - tell them up front what's about to take place to see if they want to go down this road. Be open and prepared for criticizing and touching on topics that create conflict. This initiative's ending can make some real growth and increase trust within the organization.
After each team has had the chance to present their BRIGHT - BLURRY - BLIND charts, ask them to hang them on the walls. Give participants approximately 15-30 minutes (more time if necessary) to walk around and view the other teams flip chart papers; allow time for some disorderly speaking and questions and answers sessions.
Following the unstructured viewing, call the participants back into their work teams. Ask them to gather their flip chart papers so they can reference them during the discussion.
Some possible processing questions:
• How were the metaphor cards chosen for the BRIGHT, the BLURRY, and the BLIND?
• How effective was the group's communication process?
• In what ways were disagreements settled?
• What was the easy part? What made it easy?
• What was the challenging part? What challenges were faced?
• Are there any common themes that we noticed amongst all the departments?
• What BLURRY topics can we discuss right now to make BRIGHT?
• Any surprises that were found amongst teams with the BLIND areas?
• Are the areas BRIGHT to one team BRIGHT to all or other teams?
• What are the causes of BRIGHT BLURRY BLIND topics within organizations?
• How can we as a team minimize the BLIND areas?
• What are you going to do with this information?
Follow Through
End the day by creating a team of individuals responsible for addressing and developing a system to enhance organizational transparency and communication. The team can use the information gathered as starting points.
DO NOT LET THIS INFORMATION GO UNUSED! Lead this team-building activity and do nothing. You will create a more hostile and subversive environment than before you began.
Variations:
- Try the activity without the metaphor cards; use plastic animals (sharks, camels, pigs, donkeys), Fruit (real or plastic), or no props ask the questions.
- Have the participants paint the BRIGHT BLURRY BLIND on canvases using acrylic or latex paints. Then hang the artwork in the lobby, classroom, or office space.
Other Kinds of Groups (from Chris)
After reading this activity I made the assumption that the best scenario would be dividing into 'work teams' that have at least two people in them - everyone will have some support when presenting information. (In other words, I would not facilitate this activity without organizing small teams of some sort.)
My thinking deviates a bit from Mike's intention on the 'Blind' step since it represents an "issue or topic" that only the specific team struggles with. But I think, overall, we can still keep the spirit of the activity. Here is one way I would set it up:
(Climer Cards - my Chiji and Climer Cards are always with me.)
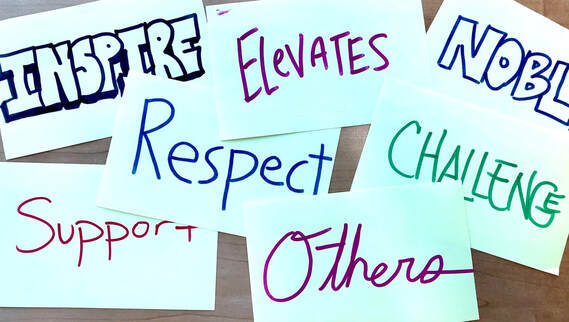
Many organizations, especially non-profit ones, include people who wear multiple hats - they are part of many different 'departments'. Let's say there are nine full time employees who oversee programs populated by seasonal staff (e.g., camps). I would divide the full timers into three groups of three and give them each a set of image cards. (I would make every effort to create small groups that felt comfortable working together during this activity. This effort may involve speaking to the top admin person to find out what groupings could work.)
I'd set up the activity just like Mike describes (above) with one adjustment to the 'Blind' information. I would simply ask each small group to choose an image that represents something they think their administration team is blind to - something they are not looking at or are hesitant to address. Then the groups would work through the process.
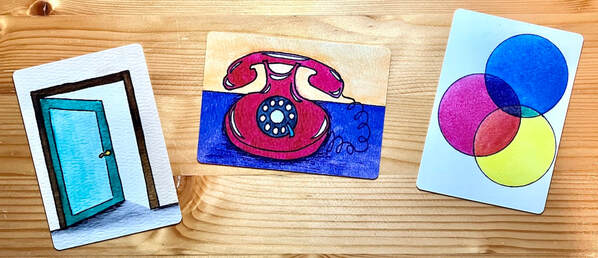
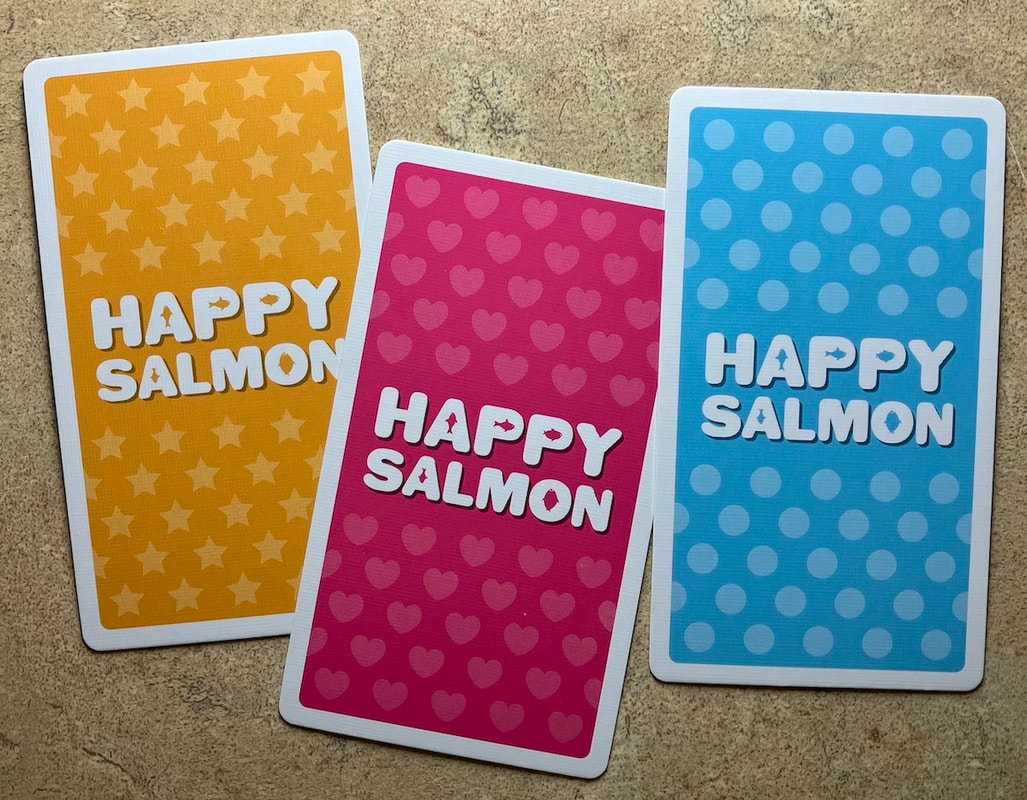
For example, one group comes up with the three cards above. They attach these cards (with light painters tape) to a piece of flip chart paper. Next to the cards they write:
These flip charts get posted around the room and the process continues (as described above).
Within the spirit of Mike's activity there is the underlying realization that not everything can be addressed at one time. However, using this Bright - Blurry - Blind process can provide data for a list concerns that can be translated into goals for teams to work on and work through together.
I'd set up the activity just like Mike describes (above) with one adjustment to the 'Blind' information. I would simply ask each small group to choose an image that represents something they think their administration team is blind to - something they are not looking at or are hesitant to address. Then the groups would work through the process.
For example, one group comes up with the three cards above. They attach these cards (with light painters tape) to a piece of flip chart paper. Next to the cards they write:
- We have too many 'open' projects going on in our organization without enough time or resources to get them done. People are counting on these projects to get done - if they don't get it effects our programming and in turn, our clients.
- The 'communication' across our organization is not always clear. This creates stress across staff lines. Missed or misunderstood information effects our programming and clients.
- There are some things we do together that work out very well (the center area of the Ven). However, many of us are in siloed 'bubbles' which limits the resources we can share with each other (which goes back to communication). How can we make the center of the Ven bigger?
These flip charts get posted around the room and the process continues (as described above).
Within the spirit of Mike's activity there is the underlying realization that not everything can be addressed at one time. However, using this Bright - Blurry - Blind process can provide data for a list concerns that can be translated into goals for teams to work on and work through together.
Keep doing the good work out there! It's not always easy, but together we can get it done.
Chris Cavert, Ed.D.
Chris Cavert, Ed.D.


 RSS Feed