
In a recent 'Ask Michelle & Chris About Team Building' podcast, Michelle and I talked about Using Index Cards for Teambuilding Activities. She mentioned Puzzle Partners as a way to mix and match for pair-and-shares – simply cutting index cards in half in creative ways, then handing out the halves and having participants find their other half and answer the given ice breaker (or other kind of) question.
I jumped in with the idea of writing something on the cards to discuss (having a conversation about) after they find everyone finds their half.
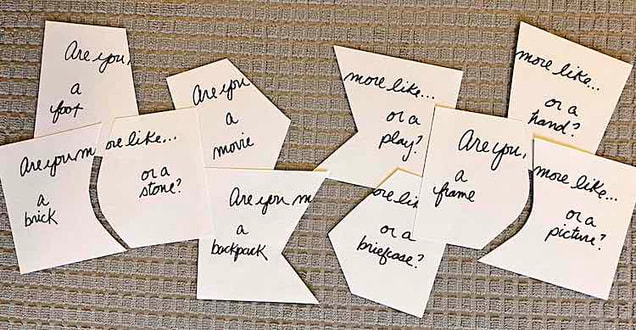
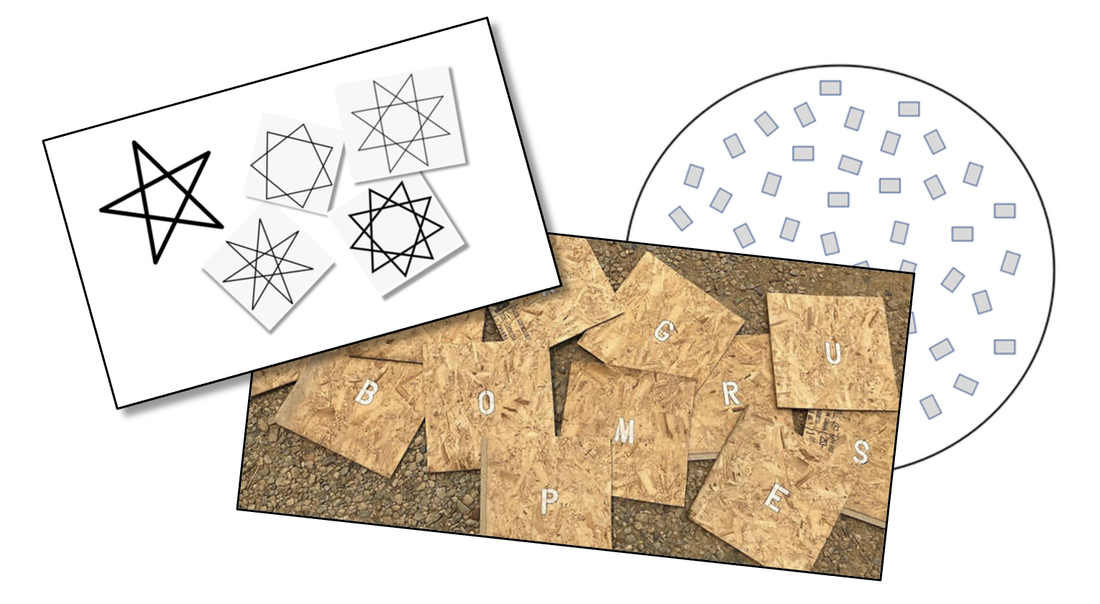
So I had to go home and make myself a set of index card partner puzzles. For my first set I chose 'Are You More Like...' questions (AYML). I like the deeper thinking and extended conversation possibilities involved in the AYML process – What are the qualities of the choices and how do they relate to you?
How to Play
I jumped in with the idea of writing something on the cards to discuss (having a conversation about) after they find everyone finds their half.
So I had to go home and make myself a set of index card partner puzzles. For my first set I chose 'Are You More Like...' questions (AYML). I like the deeper thinking and extended conversation possibilities involved in the AYML process – What are the qualities of the choices and how do they relate to you?
How to Play
- Before your group arrives, be sure you'll have enough puzzle halves for everyone. If you have an odd number of players, you can play to make it even.
- Before handing out the puzzle halves, give them a good shuffle – then hand them out.
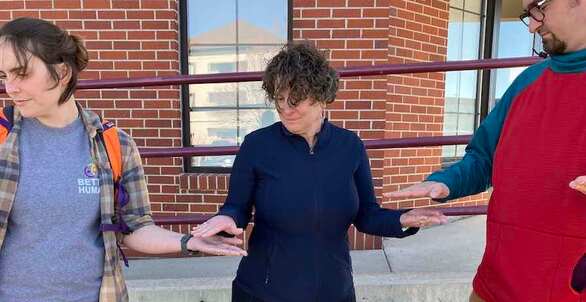
- When you say "GO!" everyone is free to mingle around and find their matching half. BEFORE PAIRS BEGIN TO ANSWER (have a conversation about) their question, everyone must be paired up – this takes the group's focus to be sure everyone is ready.
- Pairs then have two minutes (or whatever time you deem appropriate) to have a conversation about their question.
- After the designated time, have everyone exchange puzzle halves with as many people as possible until you say "STOP!" (About 15 seconds.)
- Players mingle around again to find their new match. Remember, before answering, everyone needs to be paired up. (The group is accountable for this – they are 'watching out' for each other so that everyone is ready. A nice social skill to develop.)
- Play three or four Rounds to encourage purposeful conversations.
Resources
Here is a set of print-n-play Are You More Like...? cards (with instructions) you can use for this activity as well (I sent these out in 2017 – I hope it's a good time for a reprise). I don't think play will be as fun as finding a puzzle match, but it can save you a little time creating your own Puzzle Partners set.
Here is a set of print-n-play Are You More Like...? cards (with instructions) you can use for this activity as well (I sent these out in 2017 – I hope it's a good time for a reprise). I don't think play will be as fun as finding a puzzle match, but it can save you a little time creating your own Puzzle Partners set.
| areyoumorelike_cardset1.pdf |
Are You More Like...? Digital Download. You'll find 1001 options in this eBook from the FUndoing Store – a great resource to build your own Puzzle Partner cards. (It's also a creative project for your student. Have them choose the questions and make the cards. What are they interested in finding out?)
NOTE: You can upload the eBook into your Smart Phone and always have Are You More Like...? questions on hand.
NOTE: You can upload the eBook into your Smart Phone and always have Are You More Like...? questions on hand.
Have fun out there! Let us know how it goes.
Chris Cavert, Ed.D.
Chris Cavert, Ed.D.

 RSS Feed