
One of my year-end tasks is to review the FUNdoing Blog posts from the year-gone-by. Then I choose some of the activities I believe have the best potential for lasting impact and share them with you.
Each year my goal is to put new activities and new ways to use activities that have been around for a while, out into the playing field. Many of these activities I share throughout the year haven't even been tested – just ideas I want to explore with you to see if they have "legs" as we say. In other words, if I were to write a new teambuilding activity book (hmmmm), which ones would I include from my Blog?
Here are the ones that stand out for me this year:
Stepping Words
This one takes some preparation (full transparency, one of my colleagues cut the wood for the first set – thanks Seth!). I've only led it a few times, but I've already seen more engagement during the planning stages and then throughout the activity than any other time I've led the traditional Stepping Stones (Quicksilver, Rohnke & Butler). Bonus: I also used the wooden pods for other activities like TP Shuffle, Box Hop, Traffic Jam, Find Your Island, Group Jump, and others. So, we have a versatile prop as well. (Each set of boards works with 8 to 12 players – you could add a few more letters to increase the numbers in play, but it will increase the waiting time between movements.)
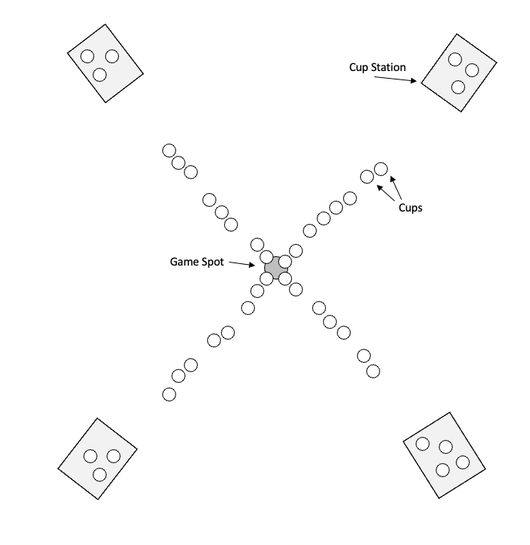
Quad-Team Flip & Find
I posted the activity Flip and Find in 2019 and received a lot of nice feedback about it (it has been in the POSSBILESbag Activity Manual since 2003). The original version was presented as a competitive activity between groups with some purposeful cooperation within each team – helping each other to be more successful.
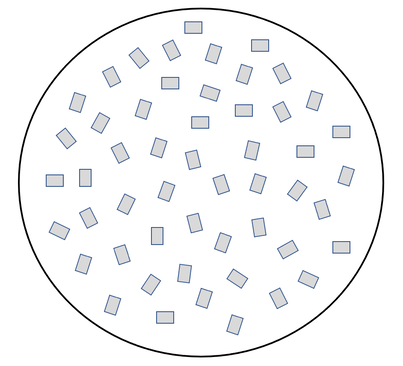
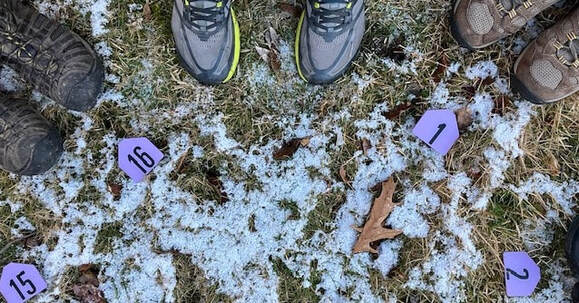
This past year someone sent me a note thanking me for the (original) activity, so it was put on my radar at a very serendipitous time. Long story short, I developed this more cooperative version involving four teams using the same area (rope circle) to find and flip their suit of cards. The significant change is now the team and the 'teams' help each other find the cards everyone needs. (Props: 50-foot rope and a deck of standard playing cards for 8 to 16 players.)
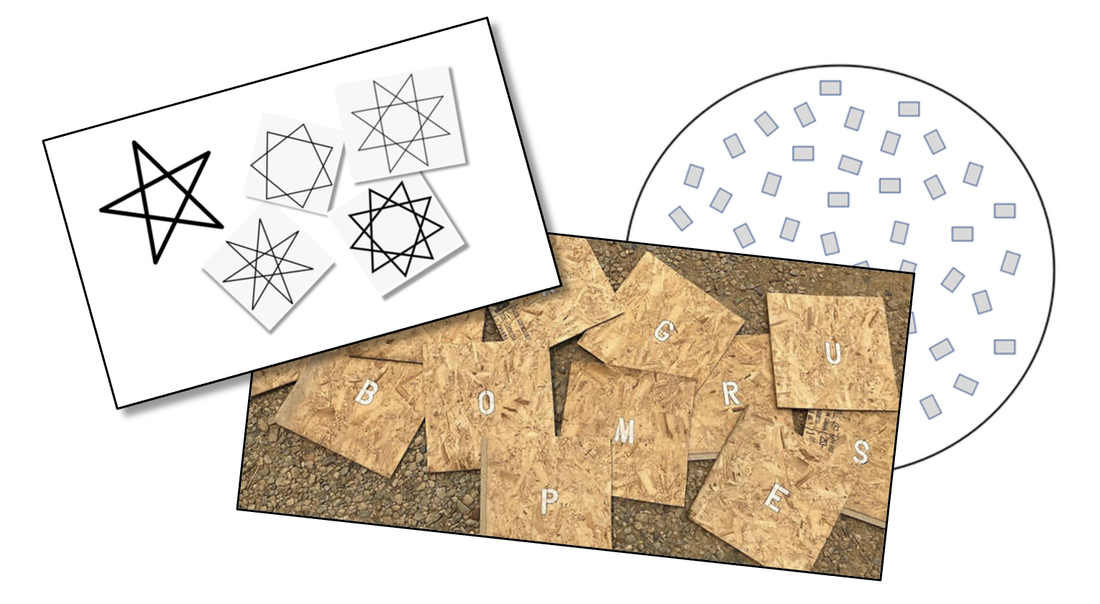
Rope Shape Challenges
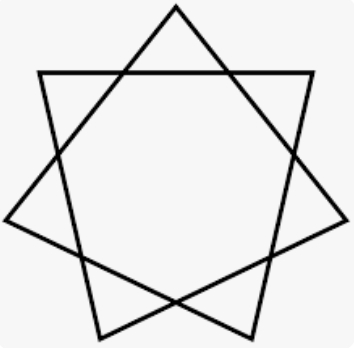
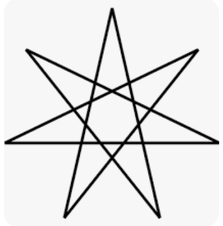
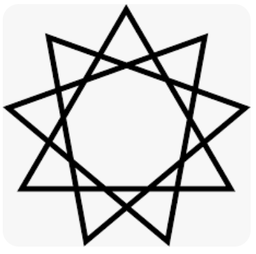
Alright, if someone offered me $1,000,000 to pick a favorite from 2023, this is the one. It all started in 1991 (well, when it was published at least) with Blind Polygon. Sikes got us to the 5-Pointed Star and then I played around with other shapes. It's a 'simple' problem-solving 'cognitive' task that's not easy. Since the 5-Pointed Star I have appreciated the two parts – solve the problem, then refine it (make it faster, or as we know, process improvement). This last year I dug a little more and 'saw' the Nonagram. This took rope shapes to the next level for me.
The way I use it requires three groups of at least five players in a group (and I would go up to seven in a group – so, 15 to 21 players). The progression: 5-Pointed Star, one of the Heptagrams, then the Nonagram (or the No-Way-Agram). The first two can be completed by each group separately, the third needs the three groups to work together overlapping ropes to complete the task. I call this a 'long-form' activity – it will take more time to get through the process. If you have the time, the benefit will be undeniable.
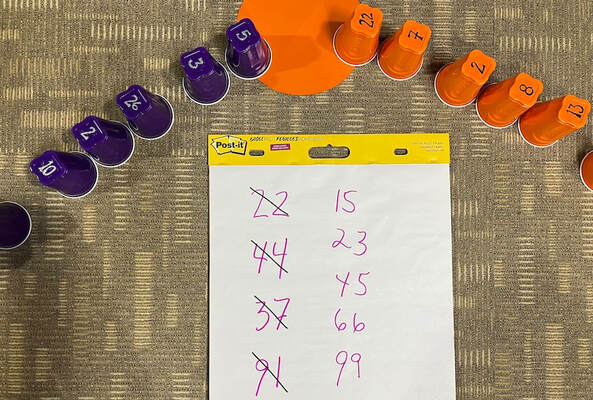
Number Cards
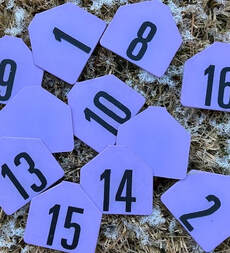
I just wanted to add this Print-N-Play to the list. I received more feedback on this PNP than any other in the FUNdoing collection. A set of four numbered cards 1 to 12 in different colors to use in place of playing cards for all sorts of lineups and groupings.
Thank you for the work you do connecting people together. We need it more than ever.
Keep me posted about your teambuilding adventures in 2024!
All the best,
Chris Cavert, Ed.D.
Each year my goal is to put new activities and new ways to use activities that have been around for a while, out into the playing field. Many of these activities I share throughout the year haven't even been tested – just ideas I want to explore with you to see if they have "legs" as we say. In other words, if I were to write a new teambuilding activity book (hmmmm), which ones would I include from my Blog?
Here are the ones that stand out for me this year:
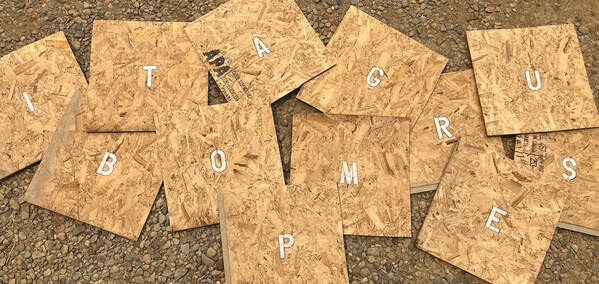
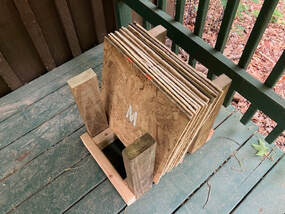
Stepping Words
This one takes some preparation (full transparency, one of my colleagues cut the wood for the first set – thanks Seth!). I've only led it a few times, but I've already seen more engagement during the planning stages and then throughout the activity than any other time I've led the traditional Stepping Stones (Quicksilver, Rohnke & Butler). Bonus: I also used the wooden pods for other activities like TP Shuffle, Box Hop, Traffic Jam, Find Your Island, Group Jump, and others. So, we have a versatile prop as well. (Each set of boards works with 8 to 12 players – you could add a few more letters to increase the numbers in play, but it will increase the waiting time between movements.)
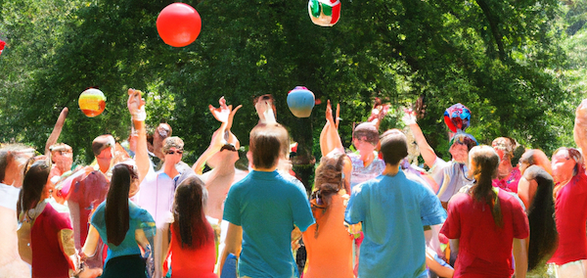
Quad-Team Flip & Find
I posted the activity Flip and Find in 2019 and received a lot of nice feedback about it (it has been in the POSSBILESbag Activity Manual since 2003). The original version was presented as a competitive activity between groups with some purposeful cooperation within each team – helping each other to be more successful.
This past year someone sent me a note thanking me for the (original) activity, so it was put on my radar at a very serendipitous time. Long story short, I developed this more cooperative version involving four teams using the same area (rope circle) to find and flip their suit of cards. The significant change is now the team and the 'teams' help each other find the cards everyone needs. (Props: 50-foot rope and a deck of standard playing cards for 8 to 16 players.)
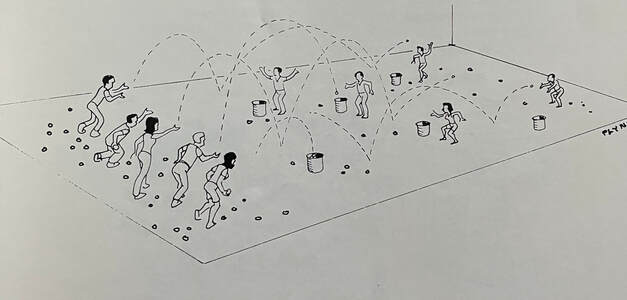
Rope Shape Challenges
Alright, if someone offered me $1,000,000 to pick a favorite from 2023, this is the one. It all started in 1991 (well, when it was published at least) with Blind Polygon. Sikes got us to the 5-Pointed Star and then I played around with other shapes. It's a 'simple' problem-solving 'cognitive' task that's not easy. Since the 5-Pointed Star I have appreciated the two parts – solve the problem, then refine it (make it faster, or as we know, process improvement). This last year I dug a little more and 'saw' the Nonagram. This took rope shapes to the next level for me.
The way I use it requires three groups of at least five players in a group (and I would go up to seven in a group – so, 15 to 21 players). The progression: 5-Pointed Star, one of the Heptagrams, then the Nonagram (or the No-Way-Agram). The first two can be completed by each group separately, the third needs the three groups to work together overlapping ropes to complete the task. I call this a 'long-form' activity – it will take more time to get through the process. If you have the time, the benefit will be undeniable.
Number Cards
I just wanted to add this Print-N-Play to the list. I received more feedback on this PNP than any other in the FUNdoing collection. A set of four numbered cards 1 to 12 in different colors to use in place of playing cards for all sorts of lineups and groupings.
Thank you for the work you do connecting people together. We need it more than ever.
Keep me posted about your teambuilding adventures in 2024!
All the best,
Chris Cavert, Ed.D.


 RSS Feed