

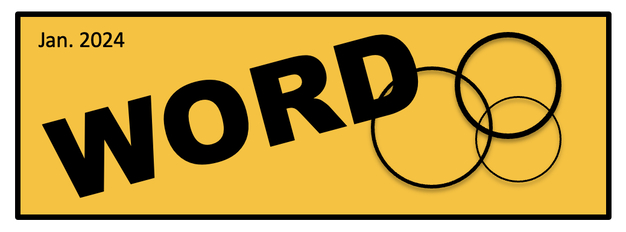
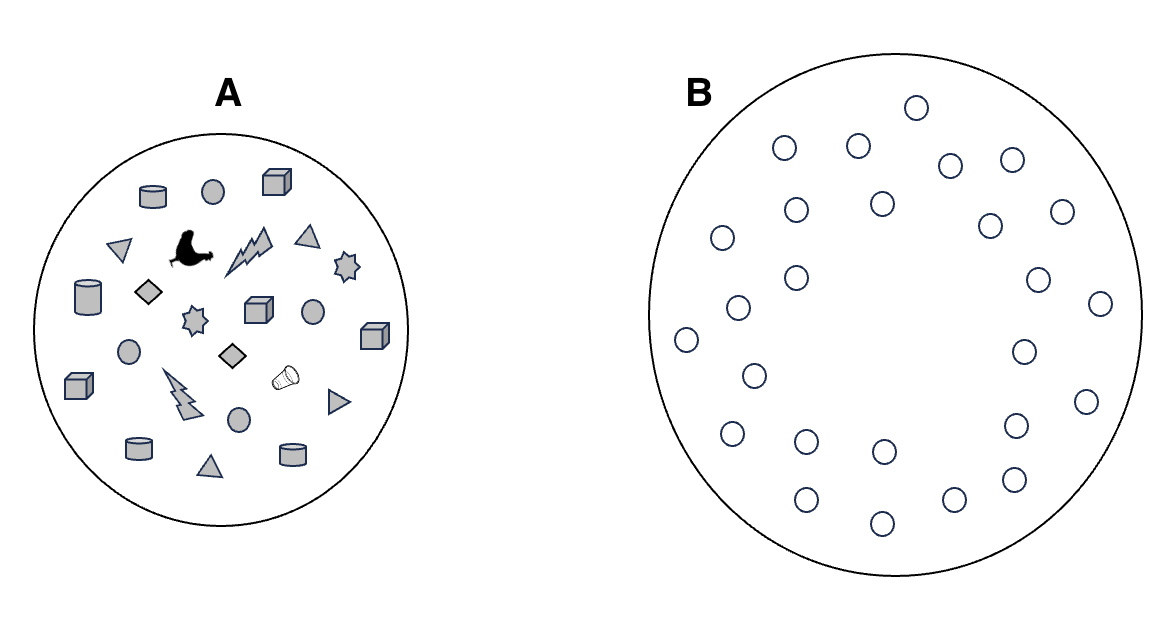
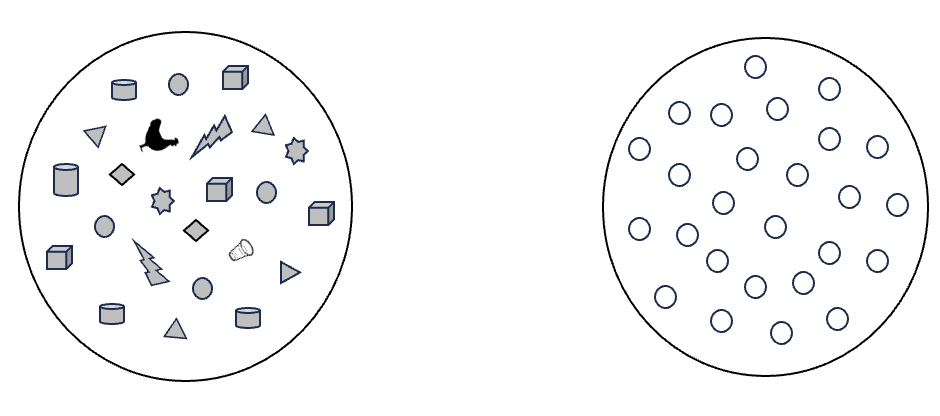
ICON Circle Puzzles are the second evolution of Word Circle Puzzles (the first evolution was Picture Word Circle Puzzles).
On a recent flight back from a summer camp training, I was motivated to find another ICON puzzle to add more to our set of challenging options when showing this version. I also found another 8-ICON puzzle from a virtual training. So now, our Puzzles sizes, with these two, now include: two 8-card puzzles, a 9-card, a 10 card, a 12-card, and a 13-card.) This third Mini Kit has another 8-card and a 12-card, as well as another HELP Cards page. As I've shared before, I like to print the HELP cards on green colored paper so I can easily identify them in the crowd (of course, the ICON cards are not printed on green paper).
For Your Reference:
- ICON Circle Puzzles Mini Kit 1 - this first post has the play details and Word Circle Puzzles links, as well as a link to the second evolution of circle puzzles - Picture Circle Puzzles.
- ICON Circle Puzzles Mini Kit 2 - two more ICON puzzles and link suggestions to more of the traditional Word Circle Puzzles.
- TheNounProject - This is where I get my ICONS (free for some of the ICONS, pay $40/year for unlimited).
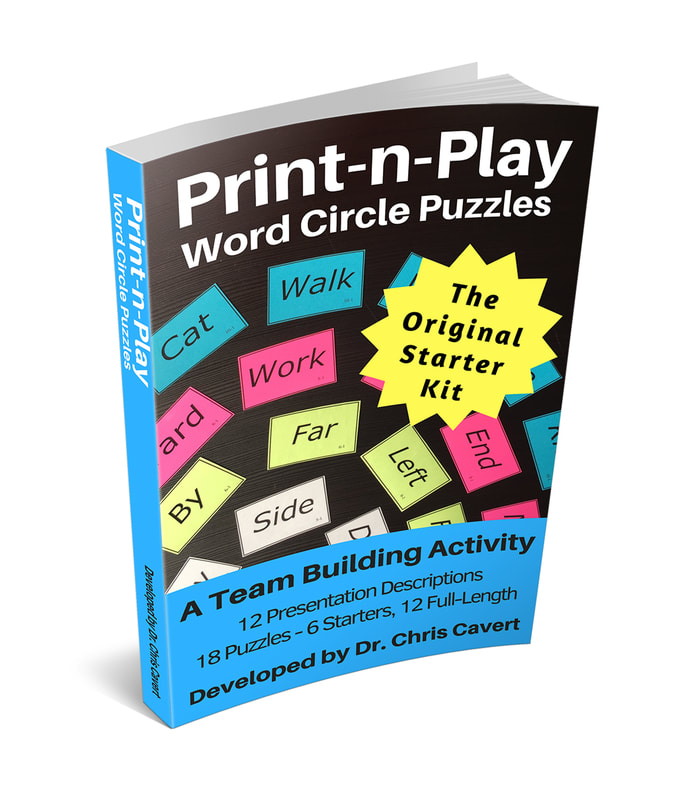
- Circle Puzzles Print-N-Play Kits - Check out the Circle Puzzles Kits, both Word and Picture Word Circles Kits at the FUNdoing store. PDF downloads ready to print and play!
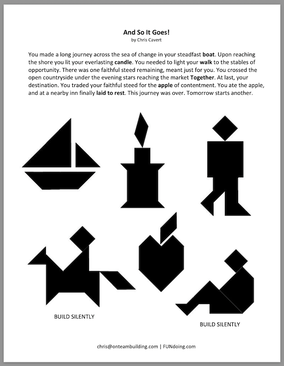
ICON circle Puzzles – Kit 3
| iconwordcirclepuzzles_set3_kit.pdf |
Have fun out there!
Chris Cavert, Ed.D.
Chris Cavert, Ed.D.


 RSS Feed