
Recently I led three live workshops sharing, Community Building Activities While Safely Distancing. I pulled See Ya! from one of the Video Replays. It can be used at the beginning of a program as a way to connect players through ice-breaker questions and then it can be used again at the end of a programming to open up discussions with processing questions.
|
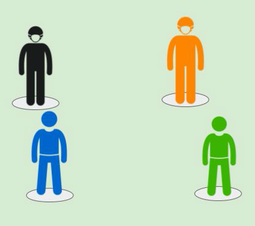
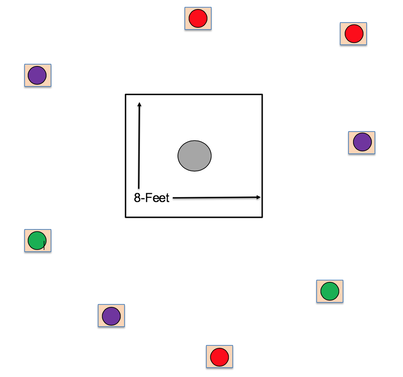
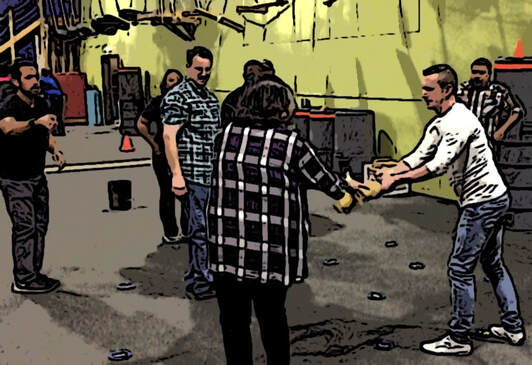
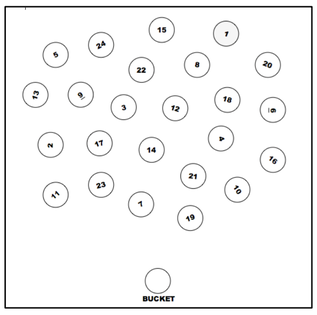
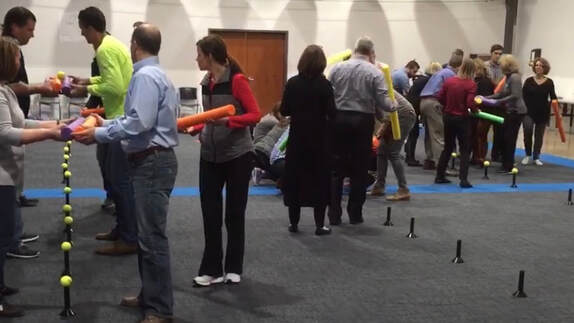
In the diagramming video, it shows players around a hoop or webbing circle, safely distanced. You can also set out spot-pods safely distanced apart in configurations for three or four players.
See Ya! can be played with 12 to 100+ people and works well with middle school ages and older. Check it out. And, if you have any questions, let me know. |
|
If you'd like a copy of the Assets Package from the workshops, with over 70 safely distancing activity resources (45 described and diagrammed in the three video replays), you can find it over at the FUNdoing Store.
All the best,
Chris Cavert, Ed.D.
All the best,
Chris Cavert, Ed.D.
 RSS Feed